Original to Hyperski, February 1999
This is my thirty eight-year of sliding down mountains. Every type of ski equipment imaginable has been used in the previous thirty-seven. I am a bit of a techno freak (or geek) if you prefer. I have bought into almost every gimmick the ski industry has come up. Through the years, in an effort to satisfy this passion for skiing and enter into the Holy Grail of expert skiing, I have spent the equivalent of some country's gross national product on equipment. Some of the "stuff" has worked and some has not.
A few years ago the ski industry came up with another of its gimmicks, or so I thought. They called it "parabolic skis." I'll be damned if I'm going to buy into this one I told myself with resolve. I sat with my skiing buddies and discussed at length how this was just another way the ski industry was using to get us to go out and purchase new skis. Who do they think they were kidding? Not us, not me, I wasn't buying, even though I have bought at least one new pair of skis for every one of my years on skis. I told myself the ski industry wasn't even being honest with me. Parabolic means symmetrical. The front and back of the skis would be identical. None of them are, only one manufacturer even came close to this. The others were just making more radically "shaped" skis than a conventional ski.
All skis have a shape. They are all narrower in the middle than at the ends. Conventional skis are narrower at the ends than shaped skis and are considered straight skis. I have always skied conventional "straight" skies. A few years ago I demoed shaped skis at Whiteface. I tried an Olin Radius at 200 centimeters and a brand I will leave Nameless at 198 centimeters. I liked the Olins and disliked the Nameless. I found I could ski the Olins by just putting them on edge. I could also ski them as conventional ("straight skis") and skid them if I choose. This allowed me to alter the turn if I wanted to. The Nameless skis carved a turn if I put them on edge but I could not get them to do anything but ski their shape. I could not alter the shape of the turn. This could be a really big problem on steep terrain and in the bumps. In defense of these skis this could have something to do with the way they were tuned.
I like long skis. I have a pair of bump skis at 203 centimeters, many pair of slalom skis at 207 centimeters, a pair of all mountain skis at 206 centimeters, and a giant slalom ski at 208 centimeters. Have I made my point? I like long skis! I am big for a skier at a height of 6 feet 2 inches and a weight of 220 pounds. This fact, a love for high speed skiing, and a propensity for doing things the hard way has created this obsession with long skis. I just didn't believe a short ski could handle my size and skiing speed. I also have a typical frail male ego (I know you women will know what I am talking about here) that requires a macho approach to ski length, the longer the better.
Skiing Tip: Leave your macho image at home, it can get you hurt or killed on a mountain.
Ryan Smith can be found in the Ski School at Whiteface Mountain. I took a weeks worth of lessons from Ryan. He spent two hours each day with me during these lessons. Like me Ryan is big for a skier. He was approximately my height (6 feet 2 inches) and weighs 200 pounds. Ryan teaches skiing Monday through Friday for Whiteface's Ski School and teaches private lessons on weekends. He goes to a gym three nights a week after skiing and lifts weights for one and a half hours a session. He is an athletic animal. Ryan gave me my lessons while skiing shaped giant slalom race skis at a length of 198 centimeters. This is much shorter than anything I have skied in years. Ryan could ski those shaped skis faster than I could ski my 208 centimeter straight giant slalom race skis. So much for my obsession for long skis. Ryan is a ski rep. for a major ski company. He earned that by having a very successful race career. Although only 25 years old (at the time of these lessons) Ryan has made instructing and not racing his skiing priority. He is what you imagine a ski instructor to be, tall, handsome, a free spirit, fun to be around, PSIA (Professional Ski Instructores of America) rated, and a great skier. Another of my favorite instructors at Whiteface is Gary Grady. Gary has his examiners rating as a PSIA. He is one of Ryan's mentors and I have enviously watched him ski for years.
Ryan asked me to ski while he followed. I proceeded to do my unweighted ((lift my non-turning (down-hill) ski off the snow)) turns while flying down to Whiteface's mid-station lodge. The first thing Ryan said to me was to stop picking up my "non-turning" ski. Keep both skis on the snow. What follows is the rest of what I learned about carving.
Separate your skis about hip or shoulder width apart. Bend your knees and start traversing a slope. Bend your knees even farther and stand on the balls of you feet. It is absolutely necessary to get your weight forward to carve a turn. You want the tip (shovel) of the skis to engage the snow to initiate the turn. Transfer most of your weight to the up-hill ski and push your knees forward and angle them into the direction of the turn. Apply some turning pressure in the direction of your turn and your skis will turn. Keep putting your weight into the front of your boots while angling your knees and be patient. The angling of your knees is very important to get this turn to work.
I am going to tell you this all over again in different words. Start traversing to the right with your knees bent, feet apart, weight on the balls of your feet, and most of your weight on your left ski. Your knees will be angled slightly to the right. Transfer most of your weight to your right ski. Do this with no vertical movement of your body. Your knees stay bent. You will initially be on the outside edge of your right (up-hill) ski. Flatten your skis by angling your knees to the left. Continue angling both knees to the left while pushing your knees forward. You will be rolling your skis onto their left edges. Press down on the front of your skis while directing your feet to the left. Your skis will turn and cross under your body. Keep angling your knees to the left and stay forward. Try to eliminate any skidding of the skis by keeping them on edge. Do this by keeping your knees bent and angled to the left and let the skis finish the turn. That's all there is to it. Reverse the process and you will turn in the opposite direction. This will result in a long radius turn. If you get going to fast you don't have to skid the skis to control speed. Just allow the skis to finish the turn. Even let them run a bit up the mountain. Now you're using gravity to help control the speed instead of skidding.
For a few of these runs Ryan had us skiing without poles. How humiliating is this? After thirty-seven years of skiing I was being treated like a kid in a Skiwee program and being told to leave my poles behind. As we carved our way down some "corduroy" snow we heard shouts from the ski lift above of " why don't you guys get a snow board." As we rode the lift above our tracks Ryan pointed out what he called our signature in the snow. No skidding allowed here.
I was fortunate enough to also have a lesson from Gary while on shaped skis and he had an additional valuable piece off advice. As well as emphasizing keeping your weight forward and into the front of the skis, Gary said to concentrate on using your hips to steer the ski. His very simple but valuable advice was to move your hips in the direction of the turn. If you want to make a left turn throw your hips to the left. Gary stated this in his unique way. "Think about your navel and point it in the direction you want to go." This may sound too simple to be effective but believe me it works. Remember to keep your knees bent, skis shoulder width apart. and weight forward while moving you navel and hips in the direction you want to go. Who would have ever guessed as we watch graceful P.S.I.A. rated instructors move down the mountain that they are thinking about their "belly buttons?"
To reduce the radius of this turn transfer the weight to the uphill ski
very quickly and unweight the down hill ski. As the skis cross under the
body reapply weight to the unweighted ski. This skiing on both skis with
your feet shoulder or hip width apart gives you much greater balance and
stability than the old one footed unweighted turn. The more radical the
side cut of your skis the shorter your turn will be.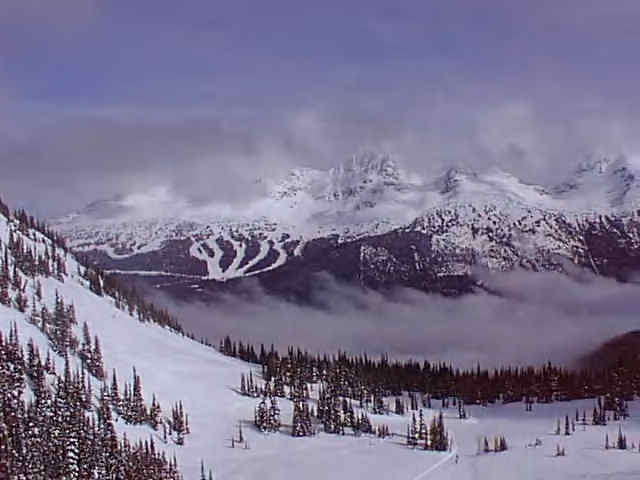
This technique led me to purchasing a pair of shaped skis. My choice was a Rossi all mountain 9.9 Dualtec Viper at 198 centimeters. I am sure many other shaped skis would work. If you are an accomplished skier you know how difficult it is to change. You may think it is impossible. It is not. By the end of my fourth day on these skis I was receiving complements from my friends on my skiing. By the end of my tenth day I was receiving compliments from hard core skiers that have watched me ski for years. It was worth the effort. We all have our own way of skiing but we can adopt these carving principles and shaped skis into our skiing. They work and give you additional weapons in your arsenal of skiing. The more weapons the better. I hope I didn't scare you with all that talk about weaponry.
Conventional skis can be used for carving. They just make it more difficult. If you want to try these techniques (and not spend a fortune) demo a pair of the new shaped skis. Many mountains offer a free clinic in their use at the demo center. If not find yourself a Ryan or a Gary and take a lesson. Watch people into carving from the lift. Get behind a carver and imitate them. Follow in thier tracks, it helps. As Yogi said, "You can observe a lot by watching." No offense intended to "you schredders" but who said you need a snowboard to be a rider? Give carving a chance. It has breathed new life into my skiing and made this wonderful sport even more enjoyable. I hope it does the same for you.
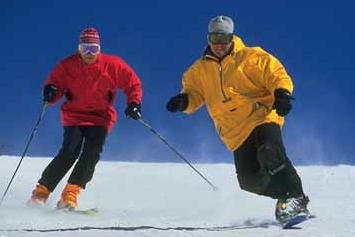
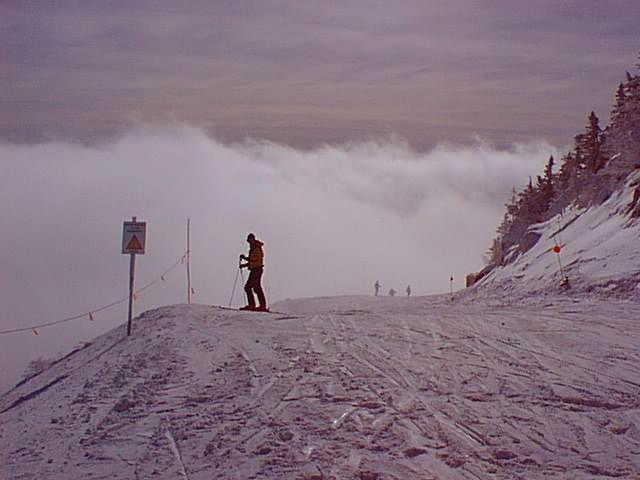
The author has a home near Whiteface Mountain, NY. He travel to Whistler/Blackcomb last year where he took the photos accompaning this artice.
Return to Ski Pages 1-5.
Return to Ski Pages 6-9.
Return to Home Page.